This article explains how to create a data pack for Minecraft.
A data pack of the contents of this article is also distributed, so please read it to the end.
How to create a data pack
Environment
This is the environment in which the data pack was created.
| OS | Windows10 |
| Editor | Visual Studio Code |
| Minecraft Java Edition | 1.16.5 |
What plugins do you recommend for using Visual Studio Code?
In order to create a data pack, we will create a Minecraft-specific json file called pack.mcmeta.
If the file extension is pack.mcmeta, the source code will not be colored, so we recommend using a plugin such as Data pack Helper Plus.

Create the pack.mcmeta file
Go to C:\Users\username\AppData\Roaming.minecraft\saves\worldname\datapacks\ and create a folder in the datapacks directory.
In this case, I named the folder “samplepack“.
This folder name will be the name of the data pack.

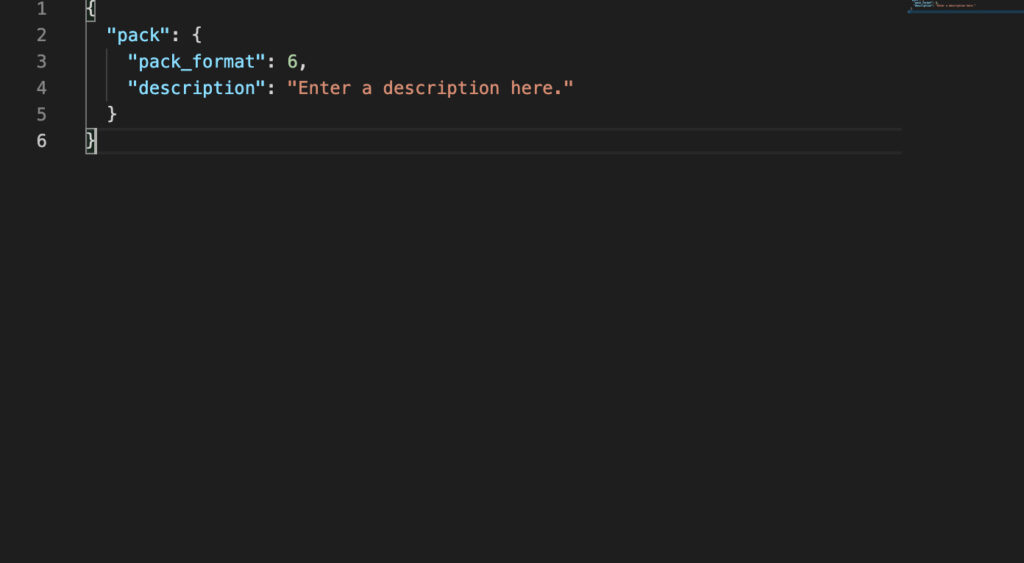
Next, create the pack.mcmeta file in the samplepack and paste the following contents into it.
{
  "pack": {
    "pack_format": 6,
    "description": "Enter a description here."
  }
}
pack_format
The pack_format specification depends on the Minecraft version.
Starting from 1.17, the pack format of version.json is split into data pack and resource pack, so it is not necessarily the same as the resource pack.
| Minecraft version | pack_format version |
|---|---|
| 20w46a and later | 7 |
| 1.16.2~1.16.5 | 6 |
| 1.15~1.16.1 | 5 |
| 1.13~1.14.4 | 4 |
Test recognition of in-game commands and data packs
| command | Description |
|---|---|
| /reload | Reload the data pack |
| /datapack list | Display a list of enabled data packs. |
Open the world where you set up the Data Pack and run the /datapack list command.
If vanilla and samplepack are recognized, you have succeeded.

If it is not recognized
If it is not recognized, the cause may be one of the following
- The data pack is not loaded.
- Possibility of errors or flaws in the program
If it is 1, try running the /reload command.
If you have already joined the world before creating the data pack, you will need to run the /reload command to reload it.
If it still doesn’t recognize it, you may have an error or defect in the program, or you may have installed the data pack in the wrong world.
Create a data folder
Create a data folder in the directory where you created the pack.mcmeta file.
You will create the Namespace in the data folder.

samplepack/
 ├ pack.mcmeta/
 ├ data/
    └ namespace ID/
Create folders in the namespace folder according to their use.
Create a namespace folder in the data folder and add the following folders to it according to your needs.
In this case, I created a test folder in the data folder.
This is the end of part 1, as there are different ways to create data packs for different purposes.
Download

The contents up to this point are distributed as a zip file.
Please unzip it and place it in C:\Users\username\AppData\Roaming.minecraft\saves\worldname\datapacks
Download
yes